Documents
Step 1: The App users can easily create or add business related Document Files, Location, Booth Floor Map and Banner Details by clicking on the below given Tabs sequence.
Eventdex >> Login >> Manage Event >> Event App >> Documents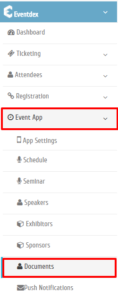
Step 2: Document Section – Below shown screen appears.

Step 3: Click on “Documents” drop-down arrow and select “Documents” from the given picklist.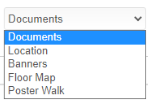
Step 4: Click on “Add Files” tab available at the top right side of the Documents Section.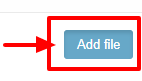
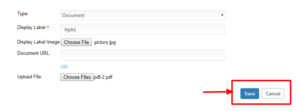
Step 5: Fill-in Document Information in given below sections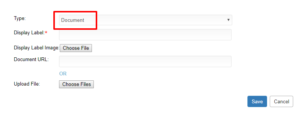 Document Information
- Type : Choose “Document” from the picklist.
- *Display Label : Give Label
- : Upload the file from the system.
- Document URL or Upload file : Provide the URL or Upload a File. Click on “Save“.
After Saving all the fields, the given data will be stored in the Documents Section as shown in the below screen.

Step 6: To give Location Information: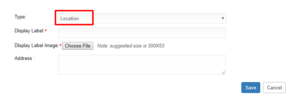
Location Information
- Type : Choose “Location” from the picklist.
- *Display Label : Give Label
- : Upload file from the system.
- Address : Provide Address.
- Click on “Save“.
After Saving all the fields the give data will be stored as shown in the below screen.

Step 7: After choosing Floor Map the below screen appears.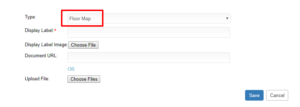
Floor Map Information
- Type : Give Type from the picklist.
- *Display Label : Give Label
- : Give Label Image.
- Document URL or Upload file : Provide the URL or Upload a File.
After adding the fields the give data will be stored as shown in the below screen.
Step 8: To give Banner details, fill-in its details.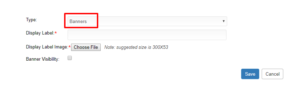
Banner Information
- Type : Choose “Banner” from the picklist.
- *Display Label : Give Label
- : Upload file from the system.
- Banner Visibility : Enable the visibility of the Banner to the audience.
- Click on “Save“.
Common for all Documents
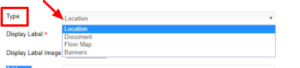
TYPE
Step 1: Select the type from the drop-down.
Display Label
Step 1: Enter the Display label.
Display Label Image
Step 1: Choose the required image from the system by clicking on “Choose File” tab.
After filling the fields, click on “Save” or click on “Cancel” to exit the screen without saving the changes.
How to Edit or Delete the data?
You can directly edit or delete the data by clicking on “Edit” or “Delete” icons.
The required screen will appear and edit the details.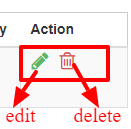
Click on “Save” tab to save the changes.
Click on “Cancel” tab to exit Document edit screen without saving changes.