EXHIBITORS :
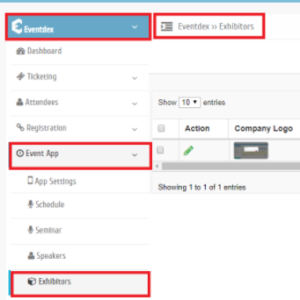
Step 1: Event Admin/Manager can add new exhibitors and register it clicking the given tab sequence.
Eventdex >> Login >> Manage Event >> Event App >> Exhibitors.
Step 2: Click on the “Add Exhibitor” tab.
Step 3: Fill in the Exhibitor’s complete details as asked in the “Add Information” section.
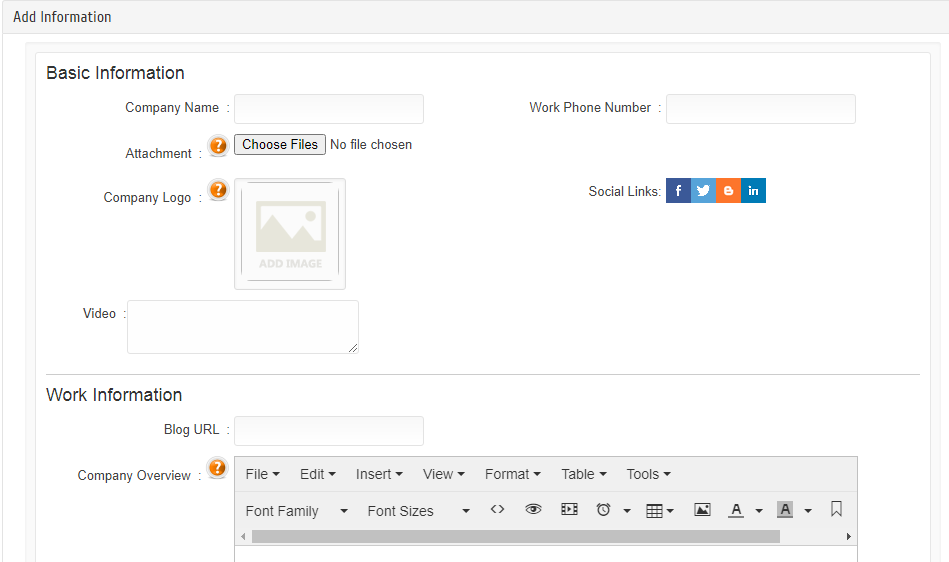

Basic Information Of Member:
- *First Name: Give First Name of Member.
- *Last Name: Give Last Name of Member.
- *Email: Email of Member.
- Company Name: Company of the Exhibitor.
- Work Phone Number : Work Phone Number of the Exhibitor.
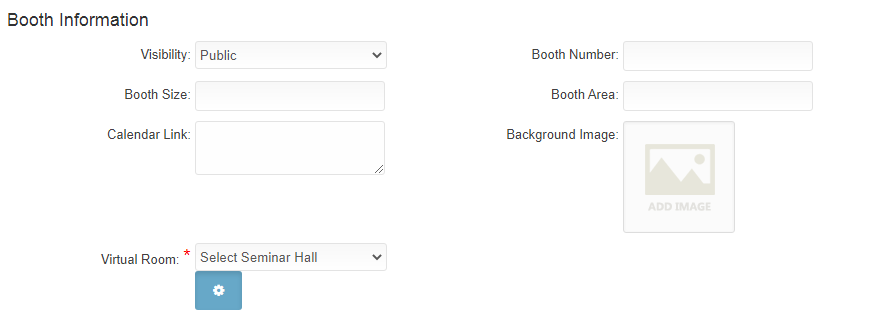
Exhibitor’s Booth Information:
- Visibility : Give Visibility (Public/Private) to Exhibitor’s information as per requirement.
- Booth Number: Enter Booth Number to the Exhibitor.
- Booth Size : Enter Booth size.
- Booth Area: Enter Booth area.
- Room: Enter Room number.
Step 5: Click on “Save” button to confirm the details.
Step 6: All entered information is displayed in the “Exhibitors” Section.

How to edit Exhibitor’s information?
You can edit an Exhibitor’s information by following below mentioned steps.
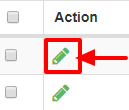
Step 1: Go to “Exhibitors” Section and click on the “Edit” tab (Pencil icon-given in “Action” column) of the respective Exhibitor, whose information has to be changed.
Step 2: Edit the required details of the Exhibitor in the “Edit Information” Section & “Save” to confirm the changes entered. OR Click on “Cancel” button to exit the screen without saving the changes.
How to edit Booth Details (Booth Number, Booth Size, Booth Area, Room Number) of the Exhibitors?
You can directly edit the Booth details by following below mentioned steps.
Step 1: Go to “Exhibitors” Section and click on the “Edit” tab of the required Booth field(s) you want to edit.

Step 2: Edit the field(s) and “Save” to confirm the changes.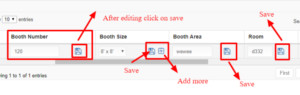
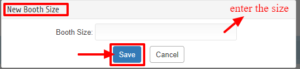
Step 3: Booth size can be added by clicking on the plus icon.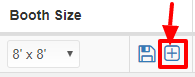
Step 4: Enter new Booth size in the box and “Save” to confirm it. OR Click on “Cancel” button to exit the “New Booth Size” Section without saving changes.
How to change Exhibitor’s Record visibility to the audience?
Step 1: Go to Exhibitor page there Select Filter by options is available.
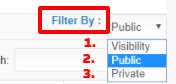
Go to “Exhibitors” Section, check “Filter By” tab given on right side of the same section. Select your preferred Visibility (Private / Public) from the drop-down menu.
1. Visibility
2. Public
3. Private
Actions
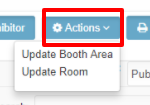
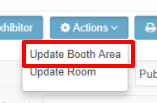
Step 1: First select the record whose Booth Area/Room is to be changed. Then click on “Actions” and select from the drop-down menu, the fields to be changed:
- Update Booth Area
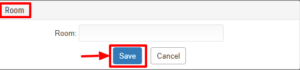
- Update Room
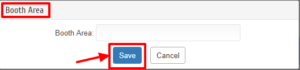
Step 2: Click on “Update Booth Area” and enter the new Booth Area data.
Step 3: Popup to edit Booth Area Field also appears, Click on ‘Save’ button to save changes.
Click on ‘Cancel’ button to exit Booth Area edit screen without saving changes.
Step 4: Click on “Save” to save changes. OR Click on “Cancel” to exit the screen without saving changes.

Step 5: Click on “Save” to save changes. OR Click on “Cancel” to exit the screen without saving changes.
Step 1: To print the Exhibitors data click on “Print“.