How to create a New Email Campaign for the event?
Path: Log in into Eventdex >> Event Settings >> Email Templates
Eventdex presents an easy to use platform for Event Admins to set up an email campaign within minutes through our event management portal.
You don’t need to buy any email marketing tools to start the email campaign. Our integrated CRM helps you to kick-start your campaign, instantly.
You can also set Automated Reminders and Announcements to the attendees and exhibitors, very easily.
To create an Email Campaign for your event, follow the given steps:
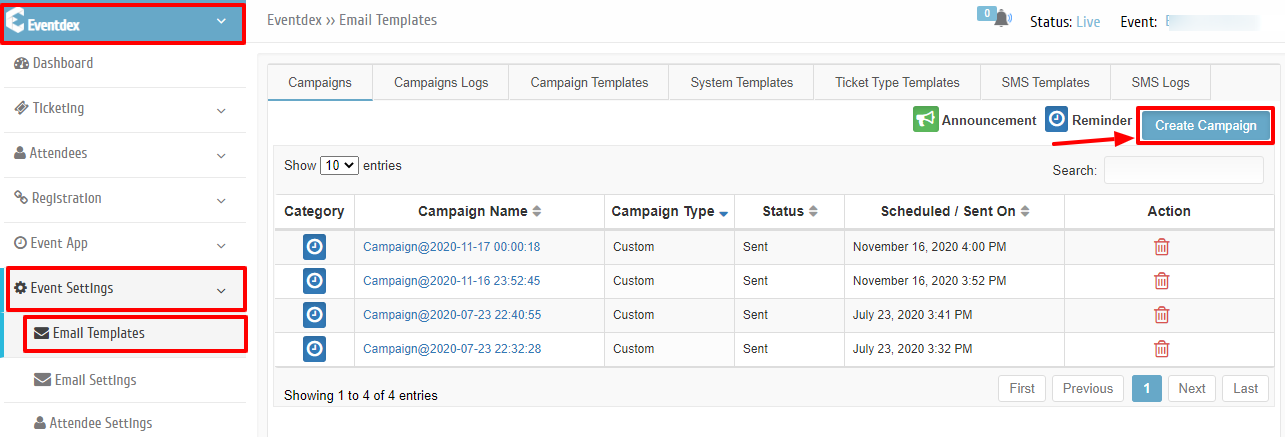
Step 1. Go to Eventdex Portal >> Login >> Select your Event for which you want to run an email campaign.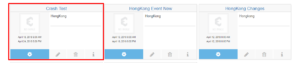 Step 2. Click on Event Settings >> Email Templates >> Campaigns >> Create Campaigns.
 You can use our existing standard templates to run a campaign for:
1) Product Intro Of Match Leads
2) Lead Retrieval Sign Up Reminder
3) Match Leads Buyer Sign Up Reminder
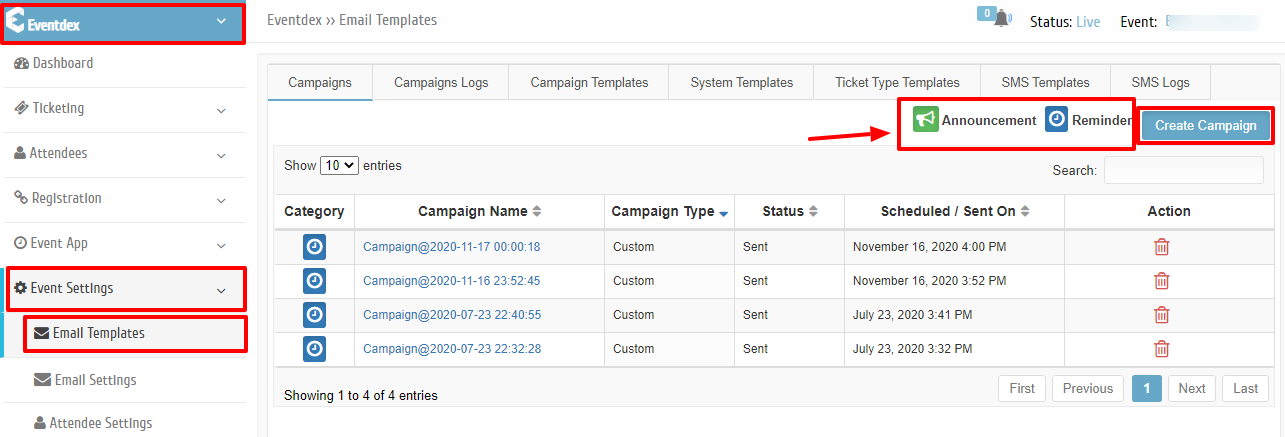
4) Product Intro of Lead Retrieval OR you can insert templates raw HTML code to our existing templates like invite or invitations etc. If you already have a Mail Chimp email marketing tool access, then you can directly set in the “Reminder” or “Announcement” from the “Action” column tabs.
 Step 3. After clicking on “Create Campaign” tab to create a new campaign, you get a “Campaign” screen. Here you have to select the “Campaign Type” and “From Name” from the accordion menu.
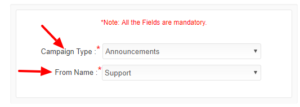 Step 4. Click on “Next” button.
Step 5. Enable those “Event Contacts” to whom you want to send your email. The data indicates the list of people who have purchased your tickets.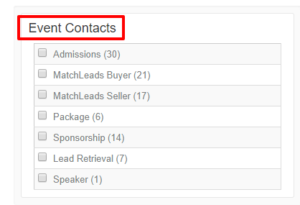
Step 6. Enable the “Email System” and click on “Next“.
Step 7. Select the email template from the “Standard Templates” list, which you wish to send to your recipients/audience.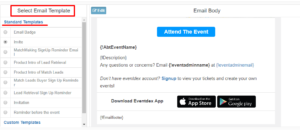
Step 8. To design a custom email template for your email campaign, just click on “Edit” to make any change in the email such as Font size, subject, image, etc. and click on “Save As“, give an unique name to it and click on “Save” to confirm the entries or click on “Cancel” to exit the page.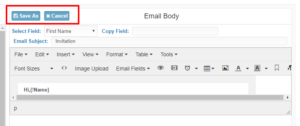
Step 9. Click on “Next” button.
Step 10. Full “Campaign Details” are available on the screen.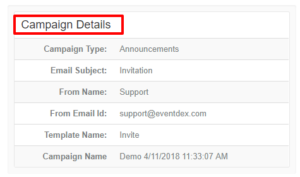
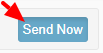
Step 11. Click on “Send Now” button. The emails are sent now to your recipients.